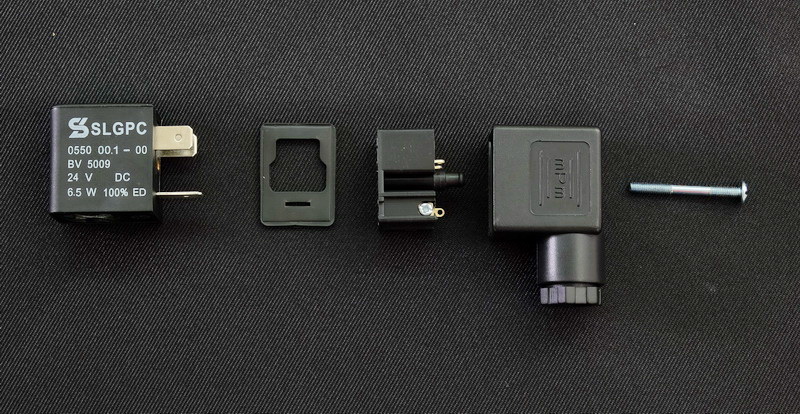
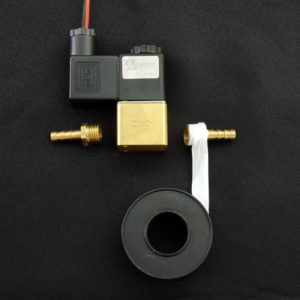
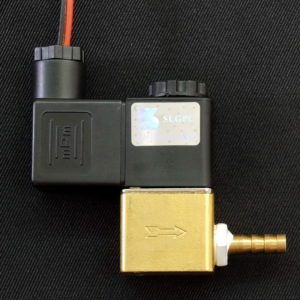
The below guide shows a SLGPC PU220AR valve. The process is exactly the same for the Shako and other similar valves.
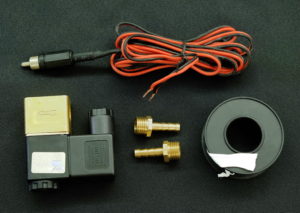 You should have a valve, 2 nozzles, Teflon tape, cable with an RCA plug.
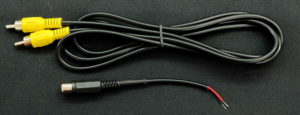
If you purchased a Valve & Bottle Set from here you may have received a single lead or a 2 part lead.
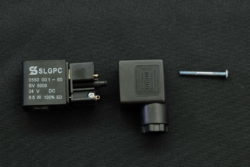
To start, remove the large nut from the side of the valve and separate the valve block from the coil.
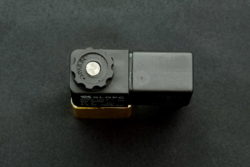
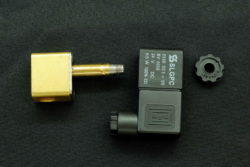
Then flip the coil around and remove the screw that holds the coil to the terminal block. Separate the 2 parts. Here the cover from the terminal block has separated. Sometimes the whole part will pull away from the coil. Either way is fine.
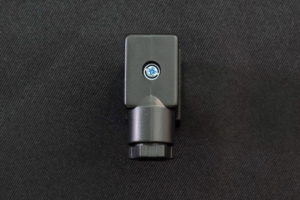
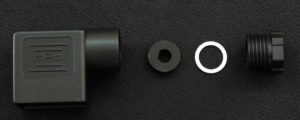 Inside the opening where the wire goes there is usually a sealing widget and a washer, pull then out.
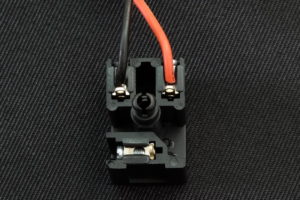
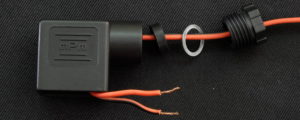 Feed the ends of the wires through the pieces and then through the opening. If you like you can tie a knot in the wire.
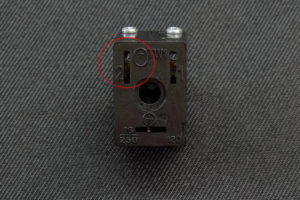 Follow the polarity marked on the case and connect the wires. Positive/vcc is marked with a +.
If you have a terminal block without markings just follow the above. With DC valves it doesn’t really matter, either way will work. With coils that have an LED vcc normally goes to the screw terminal that is connected to the LED.
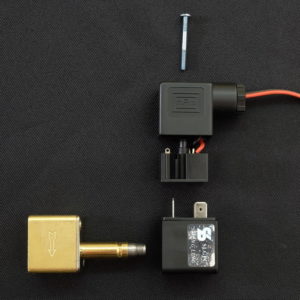 Slide the contacts back in to the shell and put the screw/bolt back.
If you tied a knot you may need to wiggle the wire to get the cover fully back on.
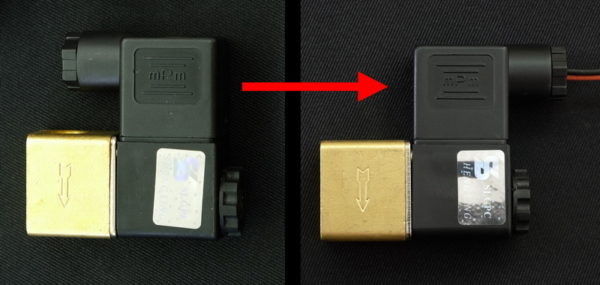
Note that I have rotated the contacts cover by 180 degrees so that when the valve is re-assembled the opening for the lead is away from the nozzle.
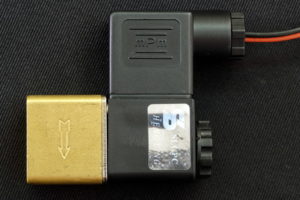 Insert the plunger back in to the block and put the large nut back.
Rotating the contact block cover moves the wire away from the nozzles.
Attaching the Nozzles
The nozzles simply screw in to the block, however, without Teflon tape they will leak.
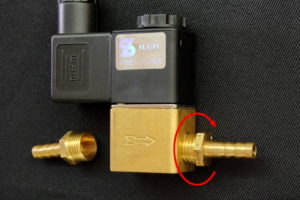 Work out which direction the nozzles fasten and then wrap the tape in the same direction. Then, when you attach the nozzle the end of the tape will follow the turn direction and not get bunched up.
 Cut the tape and tighten the nozzle.
It is personal preference to whether or not you have the tape showing.
[PHOTO] Valve with 2 nozzles attached
Add the second nozzle.
