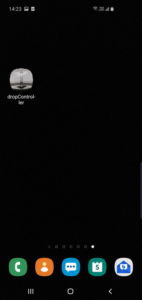
If you haven’t already, download the Android app from the the Google Play Store or the downloads page.
The dropController uses Bluetooth Classic for wireless communication. Bluetooth Classic has a two stage connection process:
1 – Connect and pair with the Android device.
2 – Connect the dropController with the app.
Pairing is a one-time process (unless you unpair or reset the Android device) and does not need to be done every time you use the app.
The below guide uses Android version 9 and a Samsung phone.
Power on the dropController.
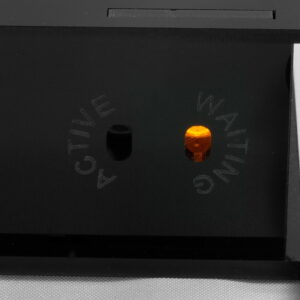 The yellow LED should be blinking slowly.
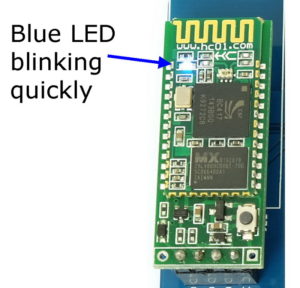 If you have the open case you should see the blue LED on the Bluetooth module blinking quickly. If you have the new case you wont 🙂
Pair the dropController
On the Android device, go to Settings => Connections => Bluetooth. If your device does not automatically scan for new devices start a scan.
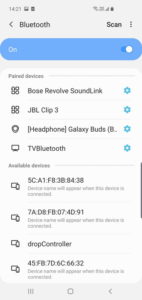 After a short pause the dropController should appear in the Available devices list.
If you built your own dropController you may or may not see dropController depending on how you set up your Bluetooth module. If you haven’t changed anything it is likely to say something like HC-06, AEGIN, or even ???? if you bought the module from China.
Click on dropController. You will be asked for a PIN. Enter 1234 and click OK
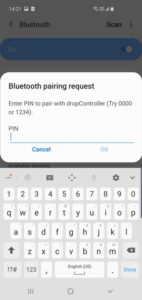
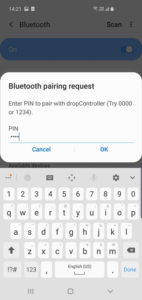
The dropController will pair and then the dropController entry will show in the Paired devices list.
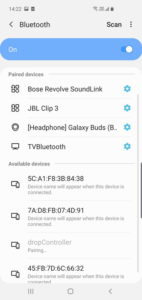
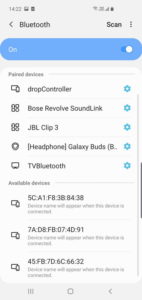
Close Settings. You are now paired and ready to try the app.
Connect the App to the dropController
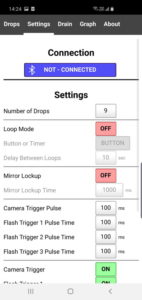
Open the dropController app. Jump to the Settings tab. Click the NOT-CONNECTED button.
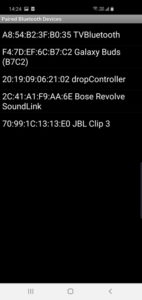 Clicking the NOT-CONNECTED button will will bring up the Paired devices list. Click the dropController entry.
If the connection is successful several things will happen.
 1 – the blue LED on the Bluetooth module will stop blinking.
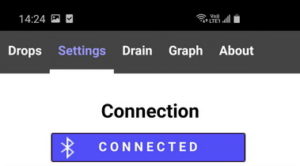
2 – the Bluetooth button in the app will change to CONNECTED
3 – the label for the Settings tab will turn blue.
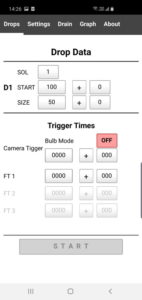
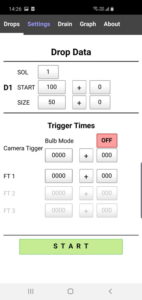
4 – the START button on the Drops tab will become active and turn green.
You are now connected and ready to go.
